
Sunday, January 30, 2011
Some Hambo Love!
Experimenting with Hambo Digis. Never have used Digis before and I am finding that I like them better than the standard stamps. Again, I am in to simple but nice cards so here are a few for you to look at. Go search Hambo Stamps and Get a free digi and try it! They are alot of fun!


Stamp Fairy Challenge
You had to make a card using circles. I happened to like the circles in the snowman on the digi stamp, and since I like simple card and most of us are in the computer age these days, I chose the wording to represent just that! I used Stampin Up Whisper White paper and coordinating paper as well as their colored pencils for this card. I used a punch to make the bites, (bytes) around the edge. I hope you enjoy it!


magnets!
I ventured into the craft world for a while today and I came up with these magnets. I will be selling sets of 10 for $7.50, customized, you pay shipping.....


Come Follow me, the best is yet to be!
Want to get some blog candy? Help me hit 100 followers on my blog, http://countrygrammie51.blogspot.com and I will pick a winner to receive a $10.00 gift card from peachy keen stamps and some great blog candy! Come on, join the fun and tell your friends! Check out my stampin up sight, place an on line order, and leave me a comment that you did, and I will throw in a set of stamps from stampin up! http://countrygrammie.stampinup.net Winner will be picked by random number.
See you soon!


See you soon!


Saturday, January 29, 2011

Tuesday, January 25, 2011
Birthday Cards


Wednesday, January 19, 2011
Hambo Stamps


Sunday, January 16, 2011
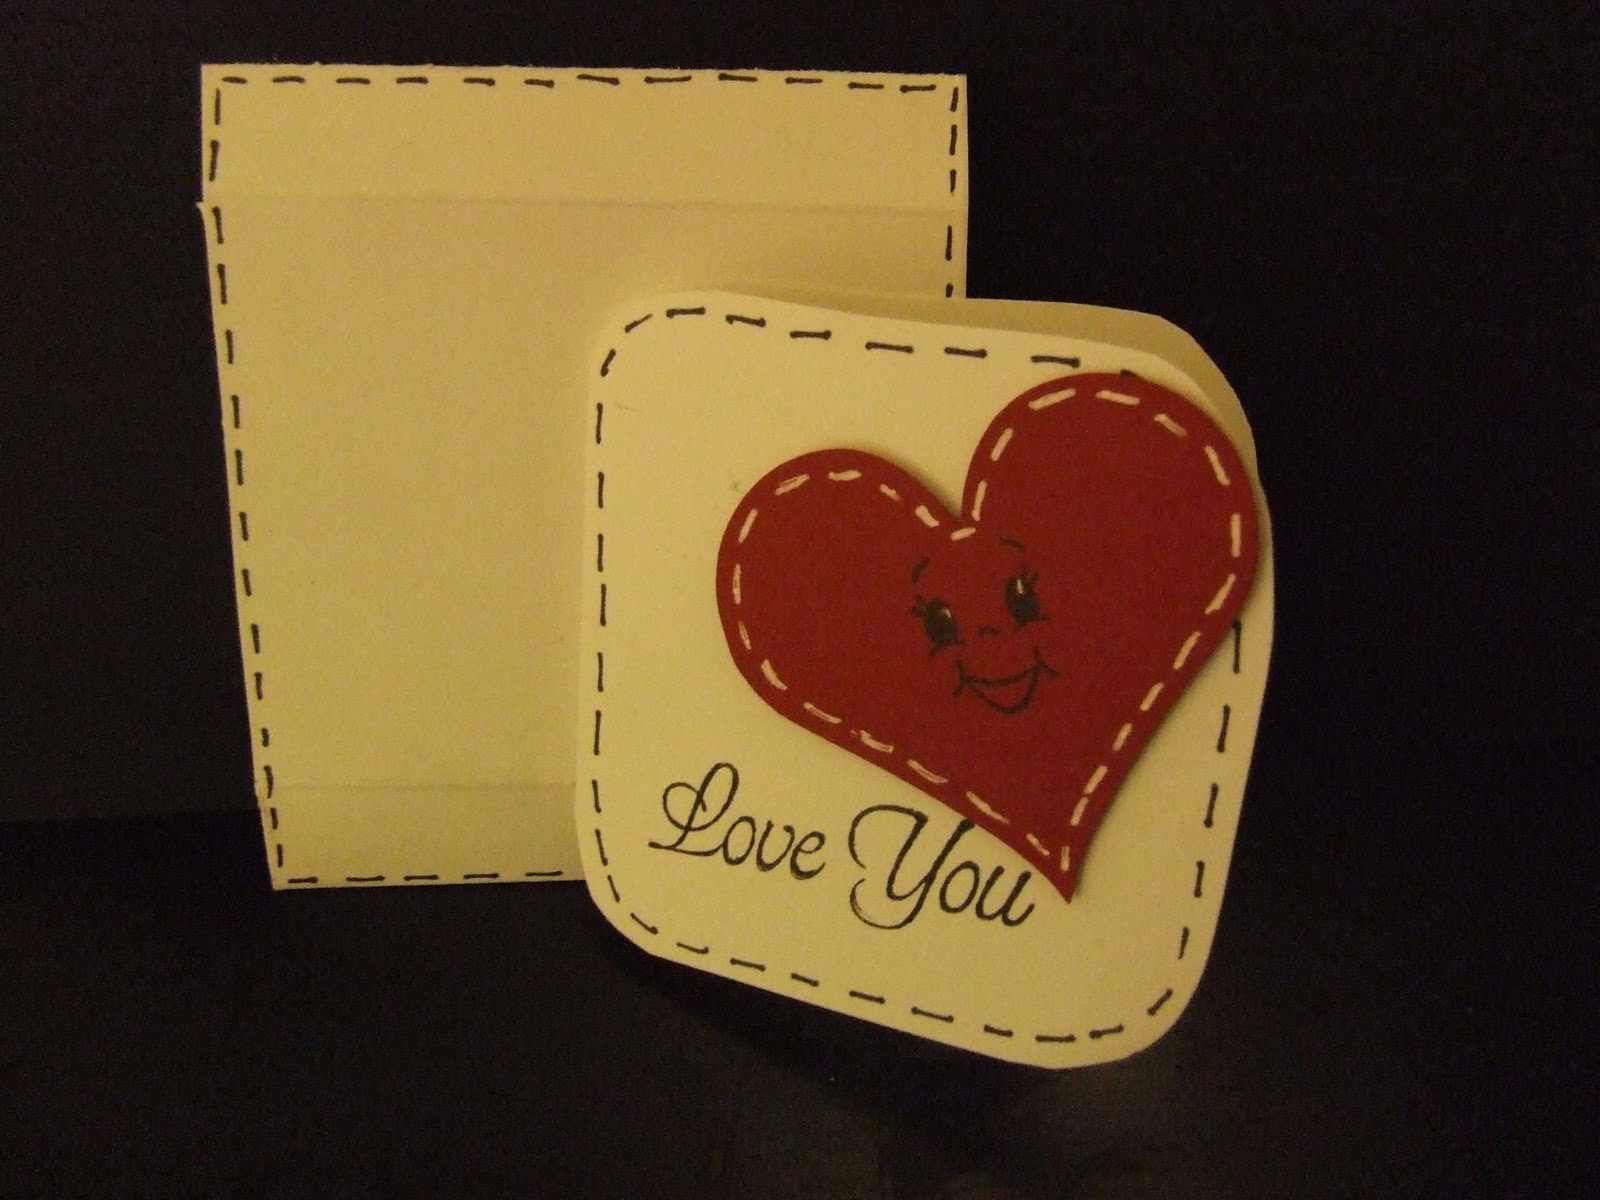
Valentine's creations, more coming in the days ahead


Monday, January 10, 2011
Anyone need 3 x 3 notecards?
Here is a very clever idea I scraplifted from another site. I have adjusted mine a little. Here is the Recipe:


 Plantin Schoolbook Cartridge for the circles and the heart, both have been cut at 2 inches; I used Simple Sally Stamps from Peachy Keen Stamps along with paper from Stampin Up, a white gel roll pen and my glue was Elmers Dot runner. I also used a 1/2 inch dimensional on the back of the circle and heart. The blush on the circle face was simply my makeup! Start my cutting your paper at 4 1/4 x 7 inches. This will make the envelope. Cut another piece of paper at 3 x 6 inches. Fold your 3 by 6 paper in half to make 3x3 notecard. Round your corners with scissors or a corner punch. Put stitiching around the edges with your black fine point marker. The envelope directions: Score paper at 1/2 inch on both long sides. Score paper on the width at 3 3/4 inches. Turn around and score again at 3 3/4 inches. Make sure that you tightly score the edges so you get a tight edge and seal. On the 4 corners of the paper, Cut your paper up to the fold marks on the sides. With the remaining side pieces, angle cut them. Fold edges in and put your glue on the folded side that will fold away from you towards the seal part of the envelope where you put the card in. Add stitching on the outer edges of the envelope, put a greeting on your card with the stamp you have chosen and presto! 3x3 notecard and envelope. It took me approx. 1 hour from start to finish to make 4 cards on my first try. Can't wait to see what ideas others come up with! Thanks for looking...........


Sunday, January 9, 2011
Sunday, is it going to snow?


Valentine Mini Album
I have had a few requests on how to make the mini album so here are the directions.
Find 3 or 4 empty toilet paper rolls. Wrapping paper rolls will work as well, cut them at 5". You should be able to get 4 or so from a wrapping paper roll. Flatten the rolls by putting under some heavy books over night. Cut your paper at 4 1/4 inches wide and 6" long. Apply glue, (I used two sided tape for this one), to one side of the roll and adhere your paper. Foll the paper around the roll and apply glue adhesive as you go. You will have an over hang. Make sure you secure your edges well. I then cut tags from heavy scrap paper or cardstock at 4" using my Plantin School book Cartridge. I tied ribbon at the top of the tag and put decorations on the outside. WaLa........Mini scrapbook. Tags can be left blank and you can write on them or put pics on them. I used a O ring to put 4 minis on so I have 8 mini pages!
 Good luck!
Find 3 or 4 empty toilet paper rolls. Wrapping paper rolls will work as well, cut them at 5". You should be able to get 4 or so from a wrapping paper roll. Flatten the rolls by putting under some heavy books over night. Cut your paper at 4 1/4 inches wide and 6" long. Apply glue, (I used two sided tape for this one), to one side of the roll and adhere your paper. Foll the paper around the roll and apply glue adhesive as you go. You will have an over hang. Make sure you secure your edges well. I then cut tags from heavy scrap paper or cardstock at 4" using my Plantin School book Cartridge. I tied ribbon at the top of the tag and put decorations on the outside. WaLa........Mini scrapbook. Tags can be left blank and you can write on them or put pics on them. I used a O ring to put 4 minis on so I have 8 mini pages!

Monday, January 3, 2011
A special Birthday Gift


Sunday, January 2, 2011
Into the new year I go
Well, tomorrow I must go back to my job, sad face here, but thankful that I am employed and have money to spend on the hobbies that I have. I am going to try and post new items every week........and get my stampin up business off the ground. So if you know of anyone in my local area that would like to purchase stamping products, please direct them my way.


 Ok, so I have a few pictures to post; a thank you card, very simple, and my first attempt at a toilet paper roll tag mini book. Hope you enjoy!


Subscribe to:
Posts (Atom)